
Chromebooks have become immensely popular in recent years. Chromebooks are lightweight, easy to use, and less expensive than other laptops on the market today. Chromebooks are laptops that run ChromeOS. A simple device that packs a lot of functionality but isn’t a Mac or PC.
You can run into charging issues with most hardware these days. Getting your Chromebook up and running again if it doesn’t charge is easy with this article.
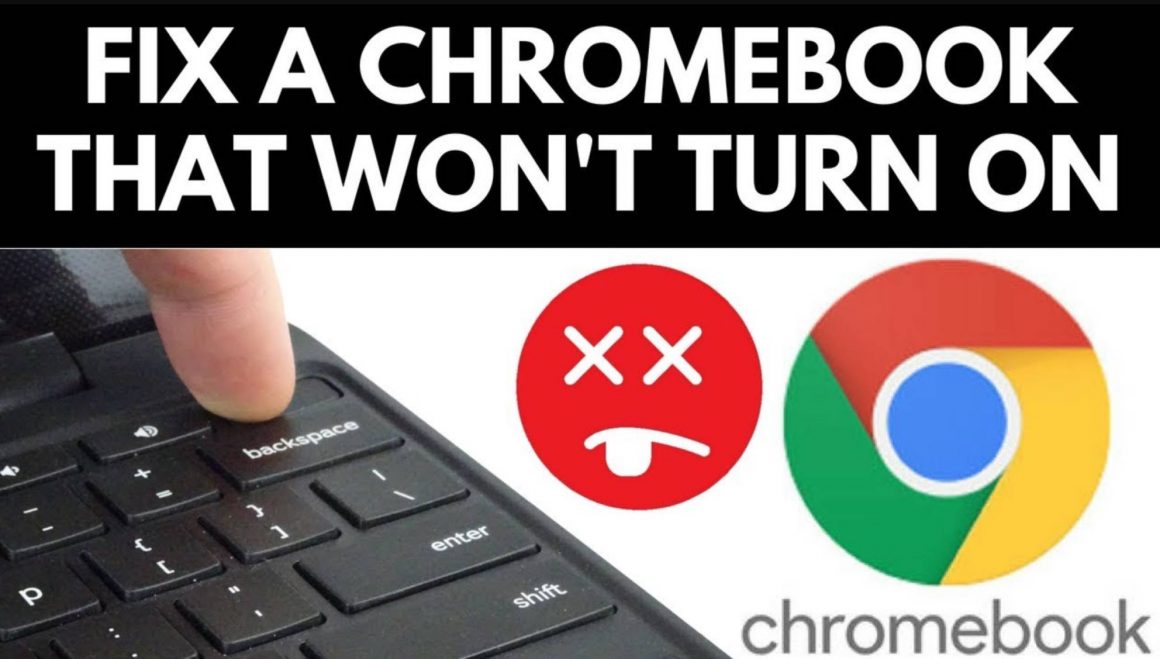
Table of Contents
How to Troubleshoot Charging Failure on a Chromebook
As with PCs, Chromebooks are available from several manufacturers. Your device may vary from Lenovo to HP. The ChromeOS operating system runs on all Chromebooks. Thus, troubleshooting steps are pretty much the same for all ChromeOS devices.
There are several reasons for failure to charge. Consider these things:
- There’s a problem with the charger, connected improperly, or not getting power.
- You’re wall outlet isn’t working. The most overlooked issue with charging is this. If it’s connected to a light switch, turn it on, and try both sockets on the same outlet.
- I haven’t charged my Chromebook in a while. Powering on can take a while.
Before we move forward, consider these points. You can often solve most problems by troubleshooting the things we listed above.
Fixes When the Chromebook Isn’t Powered On
This section includes fixes for Chromebooks that aren’t turning on after using all their power.
1. Check The Charger Cables and Connected Outlet
The physical layer is always the first stop in troubleshooting. In this case, you should check the charger itself, especially if this is your first time experiencing this issue. Ensure the AC adapter is plugged into the wall outlet correctly. It’s not uncommon for the prongs to wiggle loose from the sockets, especially if you move the laptop around.
The outlet could be malfunctioning if the connection checks out fine. Two sockets are standard on most outlets. Plug the AC adapter into the neighboring socket unless you have a tester to check if the outlet actually provides electricity. You can unplug whatever is currently taking up space to test if the original socket your laptop’s AC adaptor was plugged into isn’t working.
AC adapters actually consist of two cables. There’s the one you’re fiddling with now that plugs into the wall. Cable has a second end that plugs into adapter. Secondly, you’ll find the cable that connects to your laptop from your adapter. Ensure they are all properly plugged in at their correct entry points.
2. LED Indicator Light Functionality
LED lights indicate that your Chromebook is detecting a charger from most manufacturers. It should be fairly easy to spot regardless of the make and model.
Your Chromebook is getting some charge if you see the light. Wait twenty to thirty minutes before trying to power it on if this is the case. Check for sounds. You may have a faulty screen or some other issue outside the battery if your Chromebook is making sounds but black.
If the LED light still doesn’t come on, we’ll have to dig deeper into our troubleshooting. Pay attention to the bottom of the laptop. To prevent further complications, disconnect the laptop immediately if the LED light won’t turn on but the bottom heats up anyway.
3. Embedded Controller (EC) Reset
Chromebook may be frozen if it doesn’t respond to charger connection. When the laptop is still connected to its charger, you can perform an Embedded Controller reset to unfreeze it.
Here’s how to reset your EC:
- Ensure that your Chromebook is off (which it probably is if you’re reading this).
- Connect your Chromebook to the wall charger.
- Power and Refresh buttons are pressed and held on the keyboard.
- Once your Chromebook is on, release the Refresh button.
- You should now see your Chromebook. You will need to perform a reset when it happens.
Using a Chromebook tablet, press Volume Up and Power to perform this step.
Hopefully, your Chromebook is now working perfectly. The manufacturer needs to be contacted if it’s not. You may be covered by a warranty or need device-specific troubleshooting. Google has a list of manufacturers and their phone numbers here so you can get more help.
Power Is Fading But Chromebook Won’t Charge
This section is for Chromebooks that have power but won’t last long because of a non-charging battery. If the laptop is working properly, we can start troubleshooting.
Check your charger, adapter, and wall outlet before we move forward.
When you’ve taken care of that, and you still need to move forward, follow these steps:
- Closing the lid after powering down your Chromebook is the first step.
- Disconnect your laptop from the charger and unplug the charger from the wall outlet.
- Connect the charger to the Chromebook and plug in the AC adapter.
- Close the lid during this process.
- Find the LED indicator light. Your Chromebook is charging if the LED indicator appears. Before lifting the lid, allow it to charge, undisturbed, for approximately one hour.
- Turn the laptop on.
You’re good to go if these steps worked. However, if the issue still persists and the laptop won’t charge, we can jump into some troubleshooting.
1. Embedded Controller (EC) Reset
We will start with the last-resort step from the first troubleshooting section. Hold the refresh and power buttons simultaneously for three seconds to reboot your laptop (as long as you still have enough juice). If it doesn’t boot up and the battery is now drained, try charging it again. It would be pointless to do this even if it boots up.
After the reset, if the laptop still won’t charge, move on to the next step.
2. AC Adapter Charge Verification
The Chromebook comes with a handy way to tell whether your AC adapter is actually charging your battery. If the battery isn’t charging, there are only so many parts involved that could cause the issue.
You can make sure your AC adapter isn’t one of those malfunctioning parts by:
- Plug the AC adapter into a functioning wall outlet and connect the other end to your laptop. Fit snugly, no wiggling.
- Now that the laptop is off, you can turn it on.
- Chromebook: Open Chrome.
- To open Crosh, press the Ctrl+Alt+T keys simultaneously.
- Hit Enter after typing battery_test 1 into the provided area in CSH.
- Results will tell you if your Chromebook’s AC adapter allows current to flow through and charge up the battery.
The AC adapter should display “Battery is charging.” If this isn’t the case, then the AC adapter isn’t charging the battery and is likely the cause. Check the cables and adapter for any breaks or nicks immediately after unplugging the AC adapter.
Having another charger on hand would provide a better perspective on whether the current AC adapter is, in fact, failing. It’s likely time to put your Chromebook in the hands of professionals if you don’t have an extra adapter lying around. See what a tech repair shop can do for you with all of the troubleshooting steps you’ve already taken. Or…
3. Battery Rate Discharge Check
We’re just being thorough. It may do nothing, or it may fix the problem. Isn’t that why you’re here? Battery health may need to be checked. The battery dying should be obvious why it’s not charging.
Here are the results you’ll need:
- Battery health percentages greater than 80% indicate that it is within normal wear limits.
- Chromebooks with batteries that are less than a year old and have a health percentage of 50% or less should be replaced.
- A result of “Unknown” when testing the battery means it will need to be replaced more often than not.
Chromebooks can be checked for battery health by following these steps:
- Disconnect the charging cable from your Chromebook.
- After turning on your Chromebook, sign in.
- Open apps need to be closed. Tabs that open automatically upon launch are included.
- Next, reduce screen brightness.
- Use Chrome’s address bar to enter chrome://extensions/.
- A More… icon is also at the top right. It looks like three vertically stacked dots. Select More tools, then Extensions.
- Toggle every blue switch at the lower-right of each extension to gray to disable them all. When disabled, the toggle will appear gray.
- Press Ctrl+Alt+T simultaneously to open Crosh.
- Enter battery_test 1 into crosh, just as you did for confirming that the AC adapter was allowing a current to flow through to your battery.
You’ll get the same screen display as before, but focus on battery health this time. The battery may be the cause of your problems, and you may need to replace it.